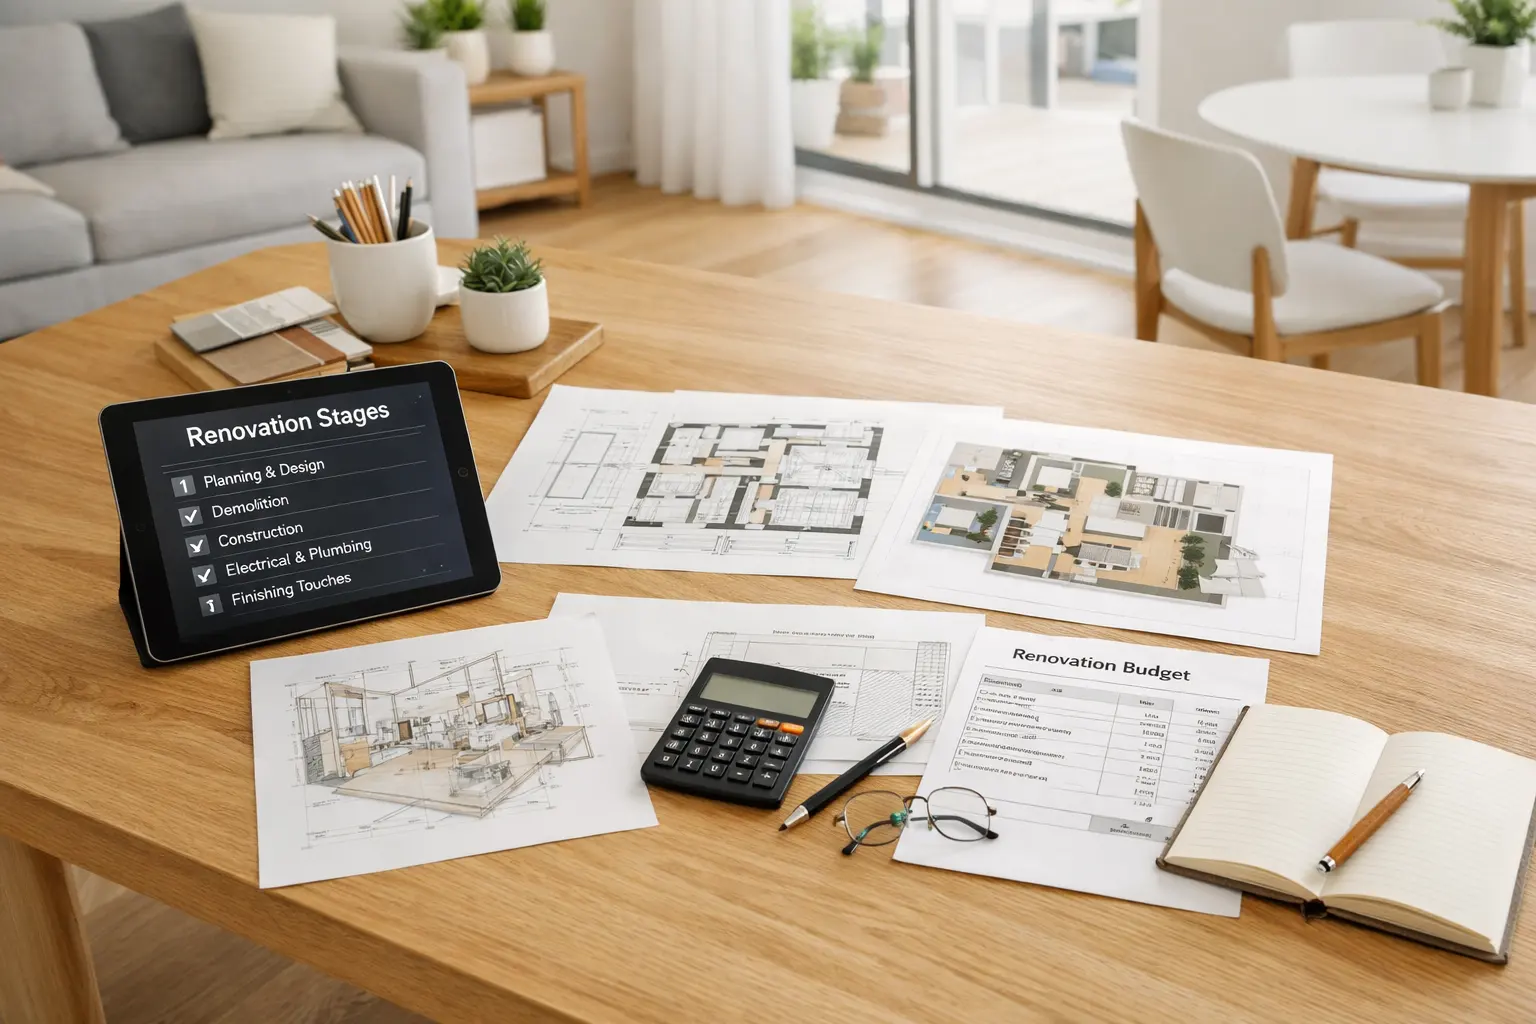
Most renovation problems start before construction begins. A project usually goes off track because the scope was unclear, the budget was too optimistic, permits were overlooked, or the work order was wrong. A practical home renovation checklist helps you catch those issues early, whether you are renovating a house or an apartment.
This checklist is designed to help you finish the planning phase with a realistic scope, a usable budget, the right sequence of work, and a home that is ready for contractors. If you want the broader process after planning, the home renovation guide shows how the full project fits together. For room-by-room prioritization, the home improvement planning guide is a useful companion.
If you are still trying to get the numbers right, use the how to estimate renovation costs without a contractor guide or the renovation cost calculator before you commit to quotes. If you want to understand why budgets often fall apart, see why renovation budgets fail.
Home Renovation Checklist at a Glance
- Define the renovation goals.
- Inspect the current condition of the property.
- Set the renovation scope.
- Separate essential work from optional upgrades.
- Estimate the total budget.
- Add a contingency fund.
- Decide how the renovation will be financed.
- Check permits and building requirements.
- Create the correct renovation sequence.
- Decide between DIY work and professional help.
- Compare contractors and written quotes.
- Finalize plans, measurements, and specifications.
- Choose and order materials.
- Create a realistic schedule.
- Prepare the home before construction starts.
1. Define What You Want to Achieve
Before you choose finishes or compare contractor bids, write down what the renovation needs to solve. A good scope starts with the real reasons for the project.
Think in categories rather than room labels. You may be trying to fix functional problems, improve comfort, refresh the look of the home, improve energy efficiency, or prepare the property for resale. Some owners also need the renovation to support long-term needs, such as easier access, better storage, or more durable materials.
The more clearly you define the goal, the easier it is to avoid buying things that look good but do not help the project. A home renovation checklist should begin with decisions, not shopping.
2. Inspect the Home Before Planning Cosmetic Work
Do not start with paint colors or tile samples. Start with the parts of the home that can change the whole project if they are wrong. Check plumbing, electrical systems, heating and cooling, moisture or water damage, walls, floors, ceilings, windows, doors, and any signs of structural concern or hidden defects.
This is the point where many homeowners learn that a "simple update" is actually a bigger remodel. If a leak, wiring problem, damaged subfloor, or cracked wall is missed early, the rest of the work can be delayed or redone later. That is why underlying issues need to be identified before cosmetic choices are finalized.
If you suspect major structural, electrical, plumbing, or moisture issues, bring in a qualified professional before you lock the scope.
3. Set a Clear Renovation Scope
A clear scope tells everyone what is included and what is not. Without it, budgets drift and timelines become impossible to trust.
The main scope types are cosmetic renovation, partial renovation, full renovation, and structural remodel. Cosmetic work is mostly about visible surfaces. Partial renovation covers selected rooms or systems. Full renovation affects most of the home. A structural remodel changes the layout or the building itself.
Example of a clear scope: "Replace kitchen cabinets, upgrade the electrical circuits serving the kitchen, install new flooring in the main living areas, repair damaged drywall in the hall, and repaint the entire first floor. Keep the existing wall locations and bathroom layouts unchanged." That is far easier to price and schedule than "update the house."
4. Separate Essential Work From Optional Upgrades
Use three buckets: must do, should do, and nice to have. This simple structure is one of the most useful parts of any renovation planning checklist because it gives you room to trim the project without losing the important work.
Must do includes safety issues, leaks, active damage, and anything that would block later work. Should do includes important improvements that make the project worthwhile. Nice to have includes upgrades you would add only if the budget and schedule still allow it.
If you need to reduce costs later, cut from the bottom of the list first. Do not remove the work that protects the structure or keeps the project functional.
5. Estimate the Renovation Budget
A realistic budget includes more than labor and visible materials. Renovation costs are usually spread across several categories, and the hidden ones are the easiest to forget.
Budget for labor, materials, delivery, demolition, waste removal, permits, design or engineering, tool rental, temporary accommodation if needed, storage, cleaning, taxes, and any local fees that apply. If you are comparing options, the renovation cost calculator can help you build a first-pass number, and how to estimate renovation costs without a contractor shows how to build that baseline manually.
Keep the budget tied to the scope, not the other way around. If the scope changes, update the budget immediately so the numbers still mean something.
6. Add a Contingency Fund
A contingency fund is not extra spending money. It is the reserve that keeps the project moving when the home reveals something you did not know about yet.
A common contingency range is 10% to 20%, but the right number depends on the age of the property, the complexity of the project, how much is hidden behind walls and floors, and whether structural changes are involved. Older homes and larger remodels usually need more protection than simple surface updates.
Use the contingency for surprises, not wish-list upgrades. It should cover hidden damage, required corrections, or unplanned technical work. It should not be used to upgrade fixtures just because you found a sale.
7. Decide How the Project Will Be Financed
Before you sign a contract or order materials, know where the money is coming from. Common approaches include savings, phased renovation, renovation loans, and home equity financing where applicable.
Each option has tradeoffs. A phased renovation can lower pressure on cash flow, but it may extend the project. Borrowing can make the work happen sooner, but it also creates repayment risk. The key is to confirm the financing plan before you lock in a contractor or place large orders.
Financing should support the project, not force the project to stretch beyond what you can realistically handle.
8. Check Permits, Building Rules, and Approvals
Permits and building rules vary by country, city, building type, and project scope. Do not assume that a permit is unnecessary just because the work feels routine.
Examples that may trigger approvals include structural changes, electrical work, plumbing changes, gas work, window replacement, exterior alterations, apartment building restrictions, working-hour rules, and protections for elevators or common areas. The exact requirements depend on location and project type, so verify them before work begins.
If you are working in a multifamily building, ask about access rules, noise restrictions, debris removal, and any required notices to neighbors or building management.
9. Put the Work in the Correct Order
Good planning is not only about what gets done. It is also about what gets done first. The wrong sequence can create avoidable rework and delays.
- Planning and design
- Permits and approvals
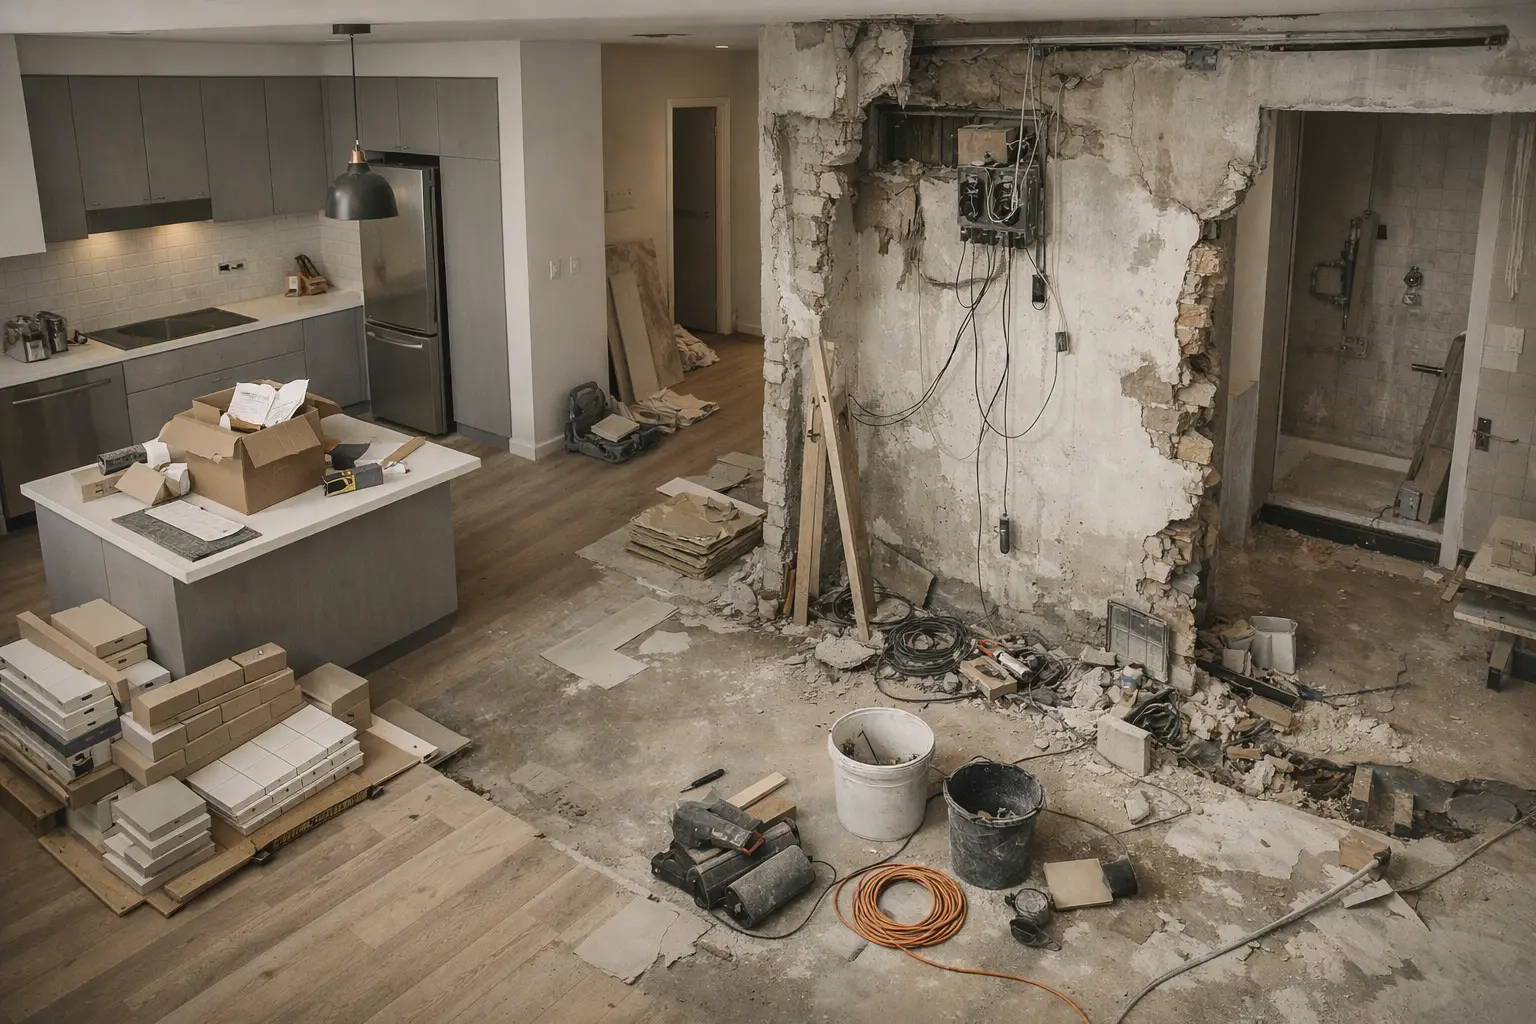
- Demolition
- Structural work
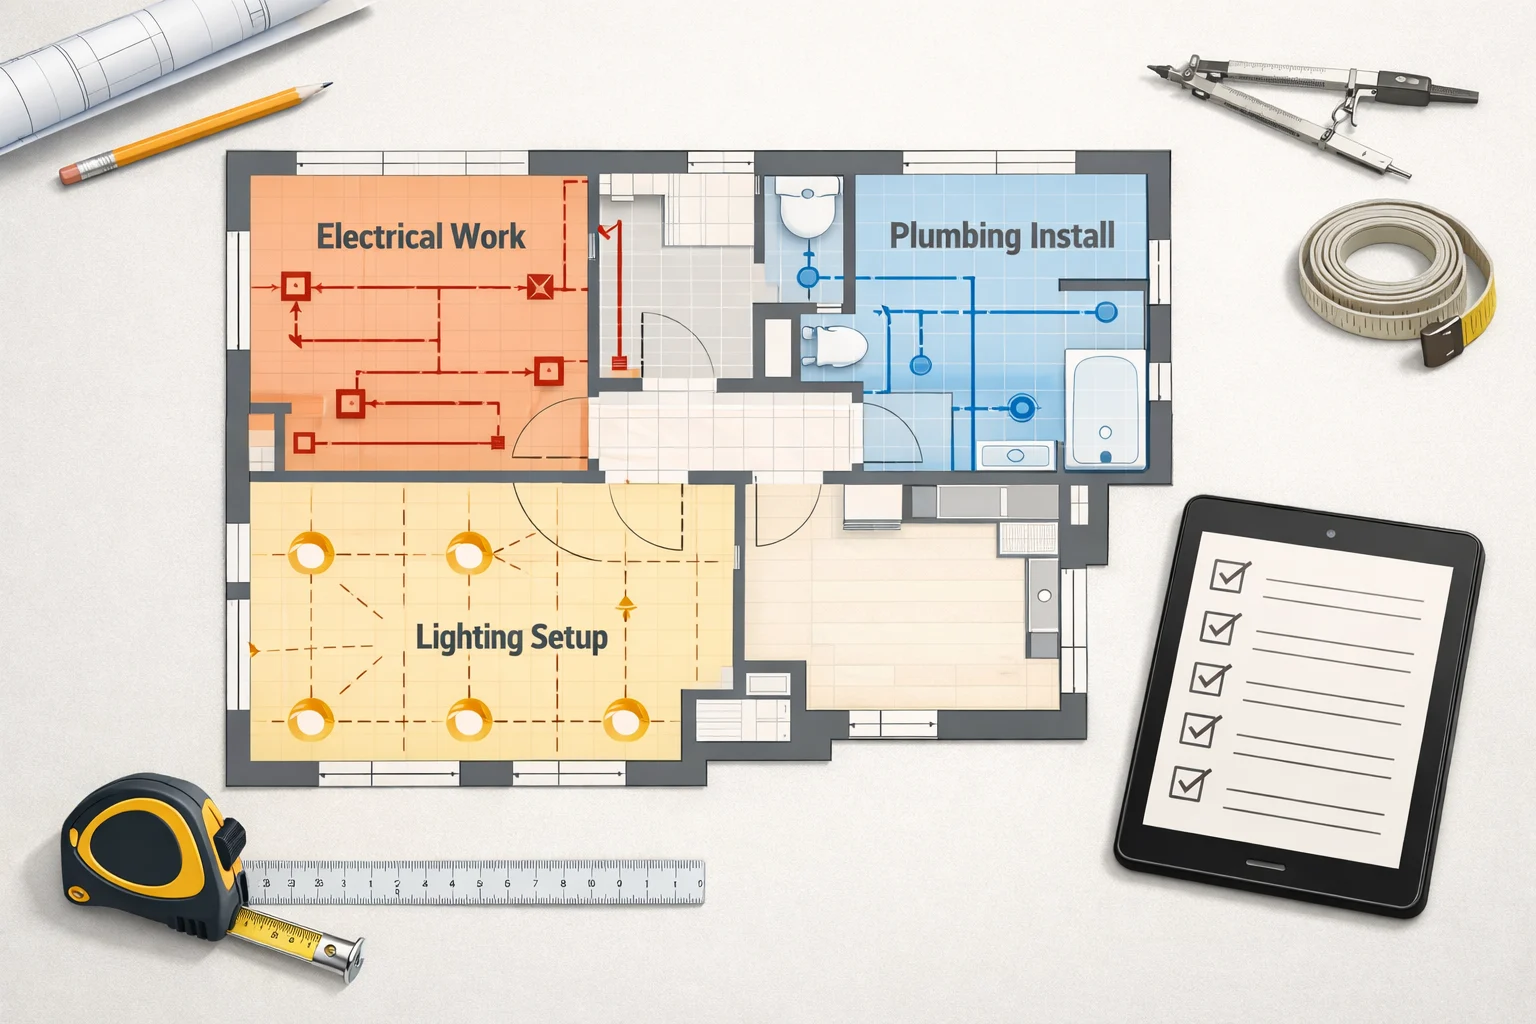
- Rough plumbing and electrical
- Heating and cooling preparation
- Wall and ceiling preparation
- Waterproofing
- Tiling
- Painting and wall finishes
- Flooring
- Doors and built-in furniture
- Final electrical and plumbing fixtures
- Finishing work and cleaning
The exact order changes from project to project. A kitchen and a whole-house remodel may share the same logic, but the details are rarely identical.

A logical sequence keeps trades from working over one another.
10. Decide What to DIY and What to Leave to Professionals
DIY can save money when the work is low risk and within your skill set. It becomes a bad deal when the time, tools, or mistakes outweigh the savings.
Evaluate each task based on skill, safety, tools, time, legal requirements, the cost of mistakes, and the effect on later work. Painting a bedroom is very different from replacing a drain line or altering framing.
Electrical, gas, structural, and some plumbing work may require licensed professionals. If a task affects safety, inspection, or the performance of later trades, treat it as professional work unless you know otherwise.
11. Compare Contractors and Written Quotes
Do not compare bids by total price alone. Two quotes can look similar and still include very different scopes, exclusions, materials, and cleanup responsibilities.
Compare the scope of work, labor, included materials, exclusions, payment schedule, estimated duration, warranty, cleanup, waste removal, and the change-order process. A lower quote can cost more later if it leaves out important work.
Questions to ask before hiring:
- What exactly is included in this quote?
- What is excluded?
- How are change orders handled?
- Who is responsible for cleanup and waste removal?
- What is the payment schedule?
- What warranty is provided?
Clear written quotes are easier to compare and easier to enforce.
12. Finalize Plans, Measurements, and Specifications
Construction gets expensive when decisions are made too late. Finalizing plans before work begins helps prevent the most common source of avoidable change orders.
Confirm room measurements, layout, outlet and lighting positions, plumbing fixture locations, door swings, furniture dimensions, tile layouts, floor transitions, material quantities, and product model numbers. If any of those items are still uncertain, you are not done planning yet.
Once demolition starts, small design changes often become larger and more expensive because they affect other trades and already ordered materials.
13. Select and Order Materials Early
Some products can be purchased late. Others should be selected early because lead times can control the schedule.
Examples of long-lead items include windows, doors, cabinets, custom furniture, tiles, sanitary fixtures, lighting, and appliances. Check stock availability, delivery dates, storage needs, and whether the products could be damaged if they arrive too early and sit on site.
Order a little extra for cuts, waste, and future repairs when appropriate. That can save time later if a tile, board, or fixture needs replacement.
14. Create a Realistic Renovation Schedule
A realistic schedule reflects dependencies between trades, delivery delays, inspection timing, drying and curing time, contractor availability, and buffer days. It also reflects the decisions that must be made before each stage can start.
An optimistic schedule without buffers is not a plan. It is a wish list. Build the schedule around the real chain of work, then add margin for the unexpected so one delay does not knock over the entire project.
15. Prepare the Home Before Work Begins
Once the scope, budget, contractor, and schedule are set, prepare the home so the crew can actually start working. This reduces the chance of damage and keeps the first day from becoming a logistics problem.
- Remove or protect furniture.
- Pack valuables and fragile items.
- Disconnect or protect appliances.
- Arrange access for contractors.
- Prepare keys and entry instructions.
- Protect elevators and shared spaces if applicable.
- Create a dust-control plan.
- Arrange waste removal.
- Inform neighbors where appropriate.
- Decide whether you will stay in the property.
- Photograph the property before work begins.
If you are moving out, document the condition of the home before any demolition starts. Photos make it easier to track damage, verify progress, and settle disputes later.
Final Pre-Renovation Check
Before the first tool comes out, run through one last checklist.
- Scope approved
- Budget confirmed
- Contingency available
- Financing confirmed
- Permits checked
- Contractor selected
- Written agreement signed
- Schedule agreed
- Materials ordered
- Responsibilities assigned
- Home prepared
- Contact details exchanged
- First payment terms verified
If even one of those items is missing, pause and fix it before starting work. A missing approval or a vague payment schedule can be more expensive than a few extra planning days.
Common Mistakes to Avoid Before Renovation
- Starting without a final scope.
- Underestimating hidden costs.
- Buying finishes before measurements are confirmed.
- Hiring based only on the lowest quote.
- Ignoring permits and building rules.
- Changing the layout during construction.
- Scheduling trades too tightly.
- Spending the contingency on upgrades.
Most of these problems are preventable. The fix is usually slower planning, better documentation, and a willingness to make decisions before the job site is active.
Frequently Asked Questions
What should I do first when planning a home renovation?
Define your goals and inspect the current condition of the property. That gives you a realistic scope before you start choosing finishes or collecting bids.
How much contingency should I include in a renovation budget?
A common range is 10% to 20%. Older homes, larger remodels, and projects with structural changes usually need a bigger reserve than a simple cosmetic update.
How far in advance should I book a contractor?
As early as possible after your scope and budget are stable. Good contractors may have lead times, and scheduling too late can push the whole project back.
Should I buy materials before hiring a contractor?
Not usually. Final measurements and specifications should be confirmed first. Order early only for items with long lead times once the plan is stable.
Can I live in my home during renovation?
Sometimes, but it depends on the scope, dust, noise, water shutoffs, and safety. A full remodel or major apartment renovation may be easier if you move out temporarily.
What documents should I have before renovation begins?
Have the scope, approved plans or measurements, written quotes, a payment schedule, permit status, material specifications, and signed agreements ready before construction starts.
What is the correct order for renovating a house?
A practical sequence is planning, approvals, demolition, structural work, rough plumbing and electrical, surface preparation, waterproofing, finishes, final fixtures, testing, and cleanup.
How long does it take to plan a home renovation?
Planning may take a few days for a simple project or several weeks for a larger remodel. The timeline depends on decisions, measurements, permits, and contractor availability.
Conclusion
A strong home renovation checklist helps you define the scope, control the budget, choose the right sequence, compare contractors fairly, order materials at the right time, and prepare the home before work begins. That preparation does not remove every risk, but it does make the project much easier to manage.
Keep the checklist updated as the project develops. When scope, timing, or materials change, revise the plan before the change reaches the job site.
Re:Build can help you organize renovation stages, track tasks, manage materials, and keep the budget and progress in one place without losing the sequence of work.