The steps of renovating a house matter because the order of work affects cost, timeline, quality, and how much rework you end up paying for. Once you understand the home renovation steps, it becomes much easier to plan a whole-house renovation without losing control of the budget or the schedule.
This guide explains the complete home renovation process from the first assessment through the final handover. It covers scope, design, budget, contractors, demolition, technical work, finishes, testing, and the order in which those stages should happen. If you are still gathering the basics, a renovation planning checklist can help you capture the essentials before work starts.
If you are trying to understand the steps to remodel a house in a practical way, think in terms of stages instead of a single giant project. That mindset makes the schedule easier to manage and the handoffs between trades easier to control.
Home Renovation Steps at a Glance
- Assess the property and define renovation goals.
- Inspect structural and technical conditions.
- Define the full renovation scope.
- Prepare the layout and design.
- Estimate costs and set the budget.
- Build a realistic timeline and stage plan.
- Hire contractors and confirm responsibilities.
- Order long-lead materials and fixtures.
- Complete demolition and site preparation.
- Carry out structural and layout changes.
- Complete rough electrical, plumbing, heating, and HVAC work.
- Repair, level, and prepare walls, ceilings, and floors.
- Complete waterproofing and wet-area work.
- Install tiles, flooring, and wall finishes.
- Install doors, fixtures, lighting, and built-ins.
- Complete painting and final finishing work.
- Test systems, inspect the work, and fix defects.
- Complete cleaning and handover.
Step 1: Assess the Property and Set Your Goals
Start with a full inspection of the property, not a shopping list. Look at the roof, moisture, electrical system, plumbing, drainage, heating, ventilation, windows, insulation, floors, walls, ceilings, and any signs of hidden damage or poor previous work. A specialist inspection may be appropriate when you suspect structural, electrical, gas, moisture, or hazardous-material issues.
Once you know the condition of the house, decide what the renovation must achieve. Separate essential repairs from comfort upgrades and cosmetic changes. That early clarity keeps the project focused and prevents the scope from growing every time you make a design decision.
Step 2: Define the Full Renovation Scope
The scope should distinguish between must-have work, should-have work, optional work, and future phase work. That distinction matters because a whole-house renovation rarely happens in one perfect pass. Most homeowners need to prioritize safety and technical work first, then decide which rooms and finishes can wait.
If the project includes kitchens, bathrooms, layout changes, insulation upgrades, or a roof repair, write each item down separately. The more precise the scope, the easier it becomes to compare quotes and spot missing work before demolition begins.
Step 3: Plan the Layout and Design
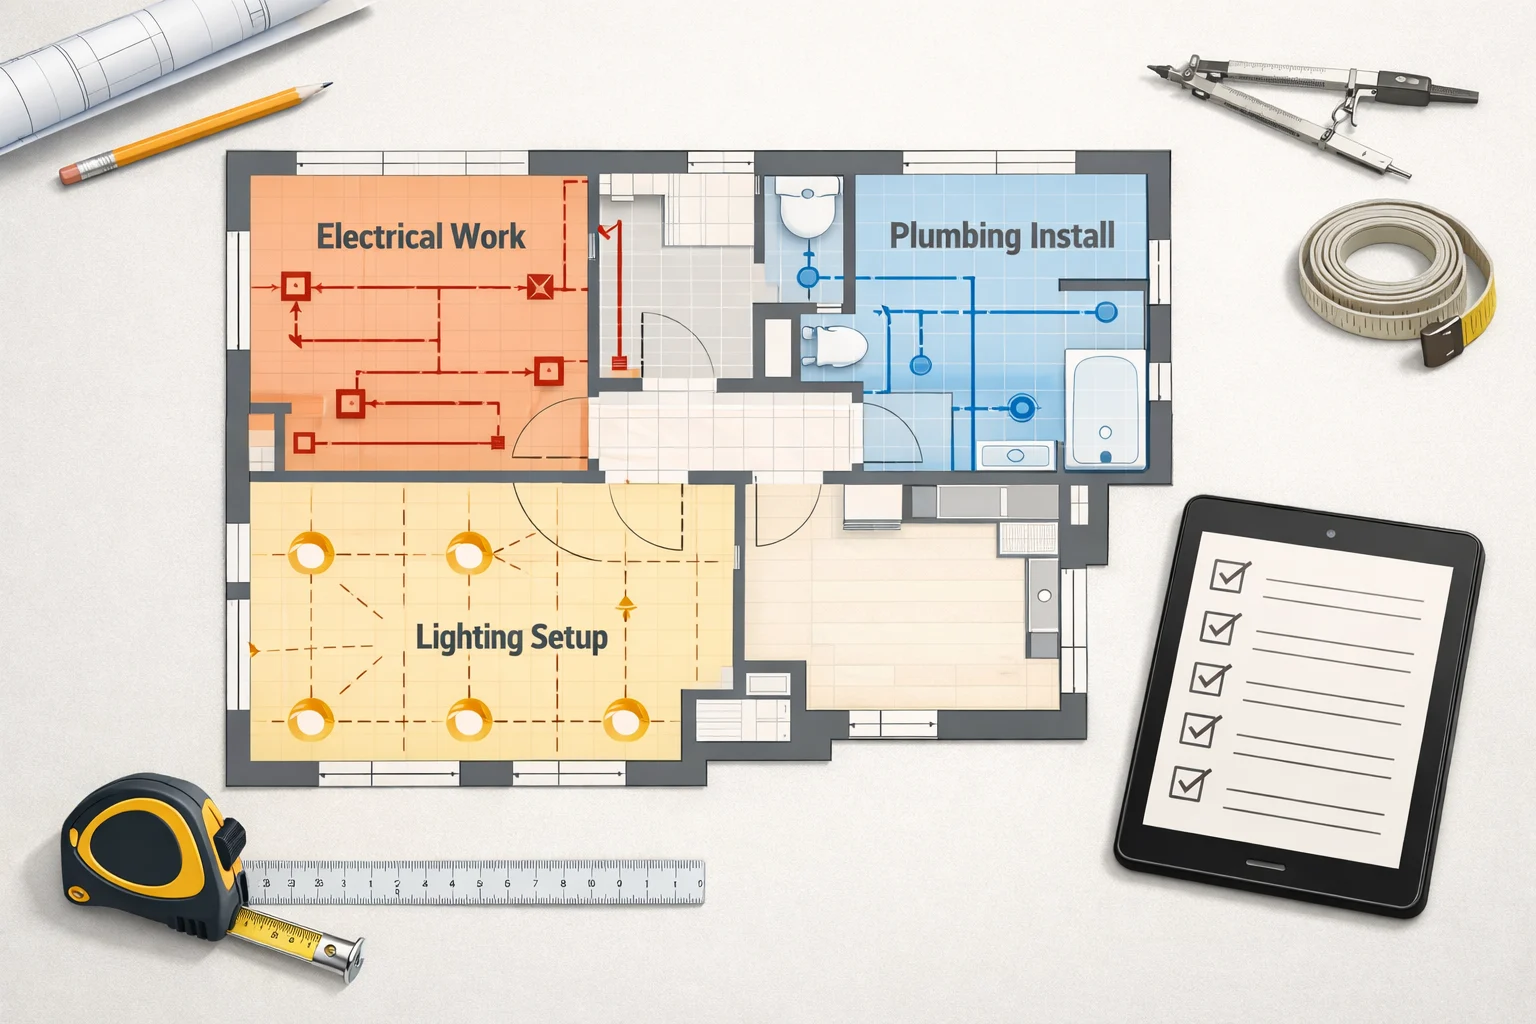
Design is not just about finishes. It is about room layout, circulation, storage, fixture placement, electrical points, lighting, and the relationship between wet areas, living spaces, and fixed furniture. If the layout is not final before work starts, the project can suffer from expensive rework later.
At this stage, technical drawings may be useful, especially if plumbing, electrical outlets, or wall positions are changing. The more you resolve before construction starts, the easier it is to keep the rest of the renovation on schedule.
Step 4: Estimate Renovation Costs and Set the Budget
Keep the budget section simple but complete. A full-house budget usually includes materials, labor, design, demolition, delivery, waste removal, equipment rental, permits or inspections where applicable, temporary accommodation if needed, and a contingency fund. For a more detailed budget framework, see our cost estimation guide and the renovation cost calculator.
Budgeting also means deciding what happens if something unexpected appears behind the walls. That is why many homeowners compare bids against the same scope and keep a separate reserve for hidden conditions, delays, and corrections. If you want to understand why renovation budgets fail, our related guide breaks down the most common causes.
Step 5: Build a Realistic Renovation Timeline
A realistic home renovation timeline includes time for design, contractor availability, ordering, demolition, rough-in work, drying and curing periods, inspections, finishing, corrections, and final cleaning. The sequence matters because one trade often depends on another finishing first.
Timeline pressure is one of the biggest reasons a renovation becomes stressful. The best way to avoid it is to plan the work in stages, identify long-lead items early, and accept that some steps cannot be compressed safely without creating rework.
Step 6: Hire Contractors and Assign Responsibilities
Before you sign anything, define who is responsible for each part of the work. Compare quotes by scope, not only by total price. Make sure payment milestones, change orders, documentation, and quality checks are clear from the beginning. A vague agreement is usually the start of a vague outcome.
This is also where you decide which work belongs with a licensed specialist and which tasks are lower risk. If you want the detailed task-by-task comparison, our DIY renovation article covers that decision separately.
Step 7: Order Materials and Long-Lead Items
Some items should be ordered early because they can hold up the whole project: windows, doors, custom furniture, sanitary fixtures, tiles, lighting, electrical equipment, and heating or HVAC equipment. Ordering too late can leave crews waiting. Ordering too early can create storage and change-order headaches if the design is not locked in.
The safest approach is to finalize dimensions and technical decisions first, then order the items that take the longest to arrive. That keeps the renovation moving without filling the house with materials you may need to return or replace.
Step 8: Demolition and Site Preparation
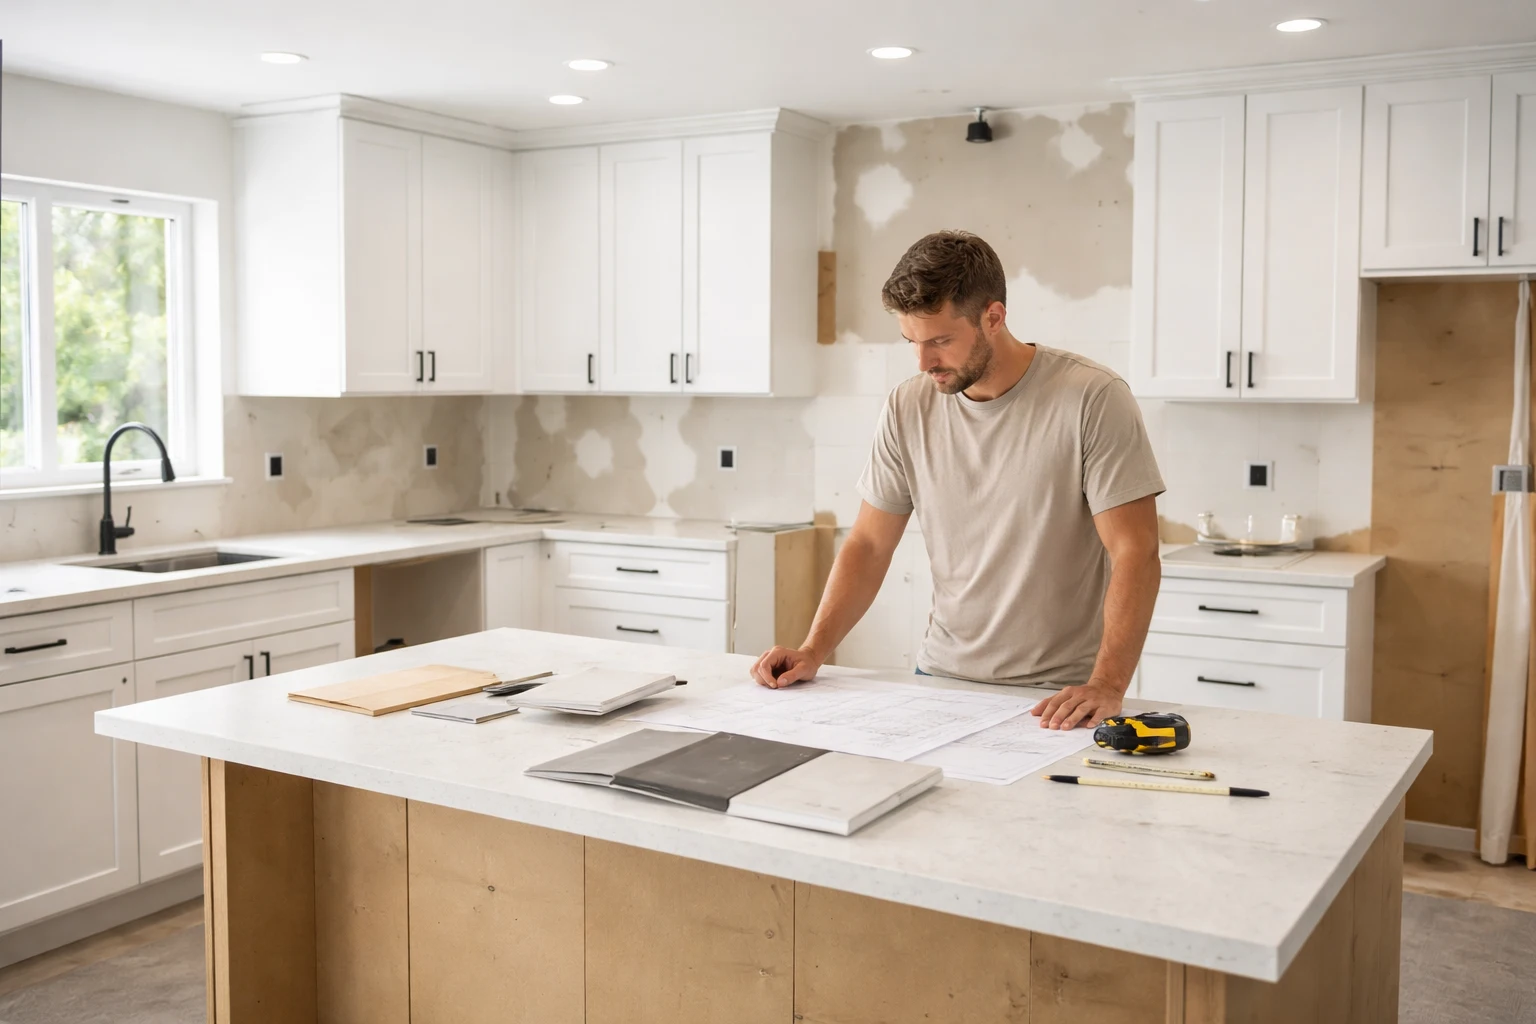
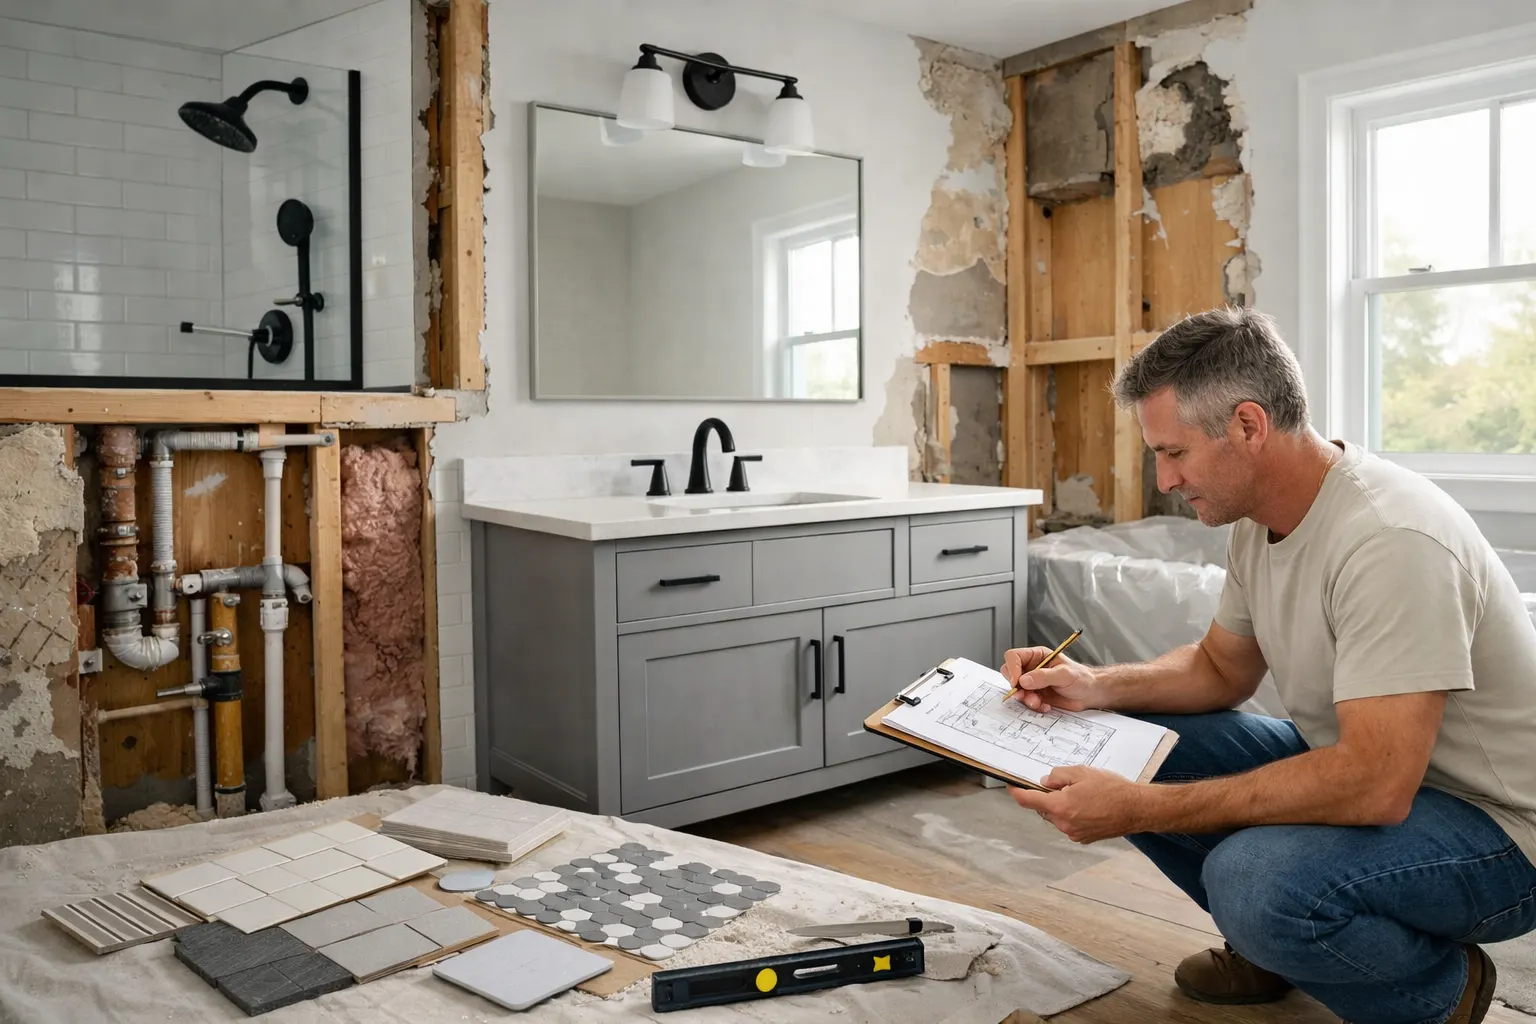
Demolition should start only after the plan is clear. Shut down utilities where necessary, protect retained surfaces, remove old fixtures and finishes, and sort waste so disposal is easier. Once the old layers are open, inspect the hidden conditions again and update the plan if the structure or services are not what you expected.
This is the stage where the renovation becomes real. It is also the stage where surprises often appear, so flexibility and documentation matter.
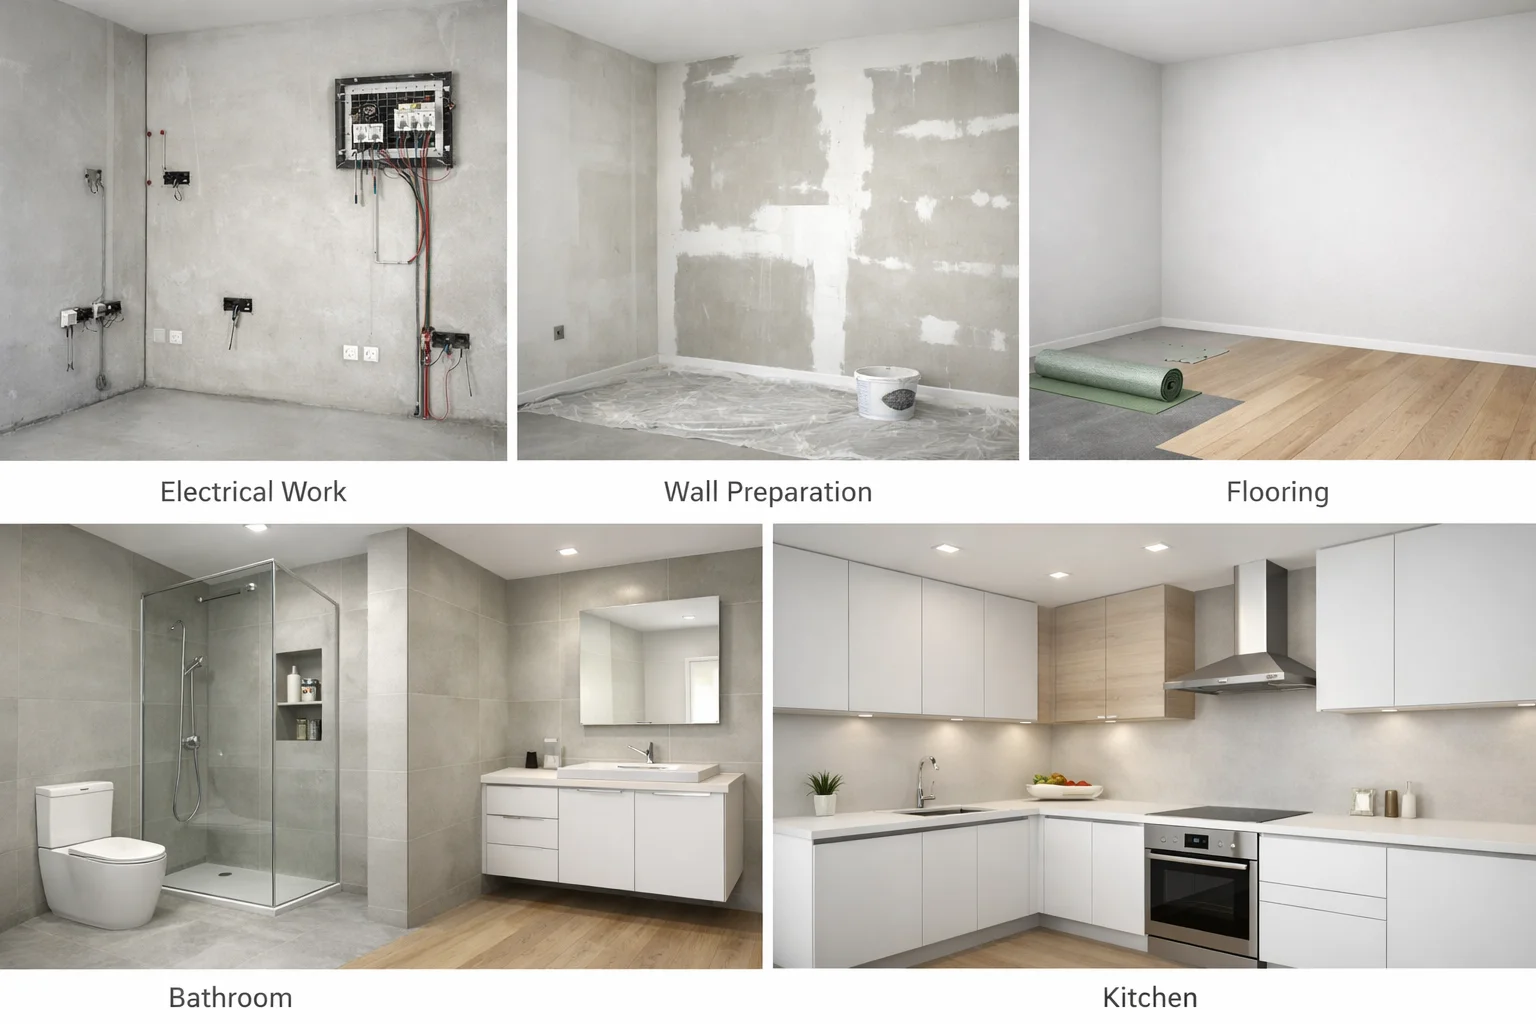
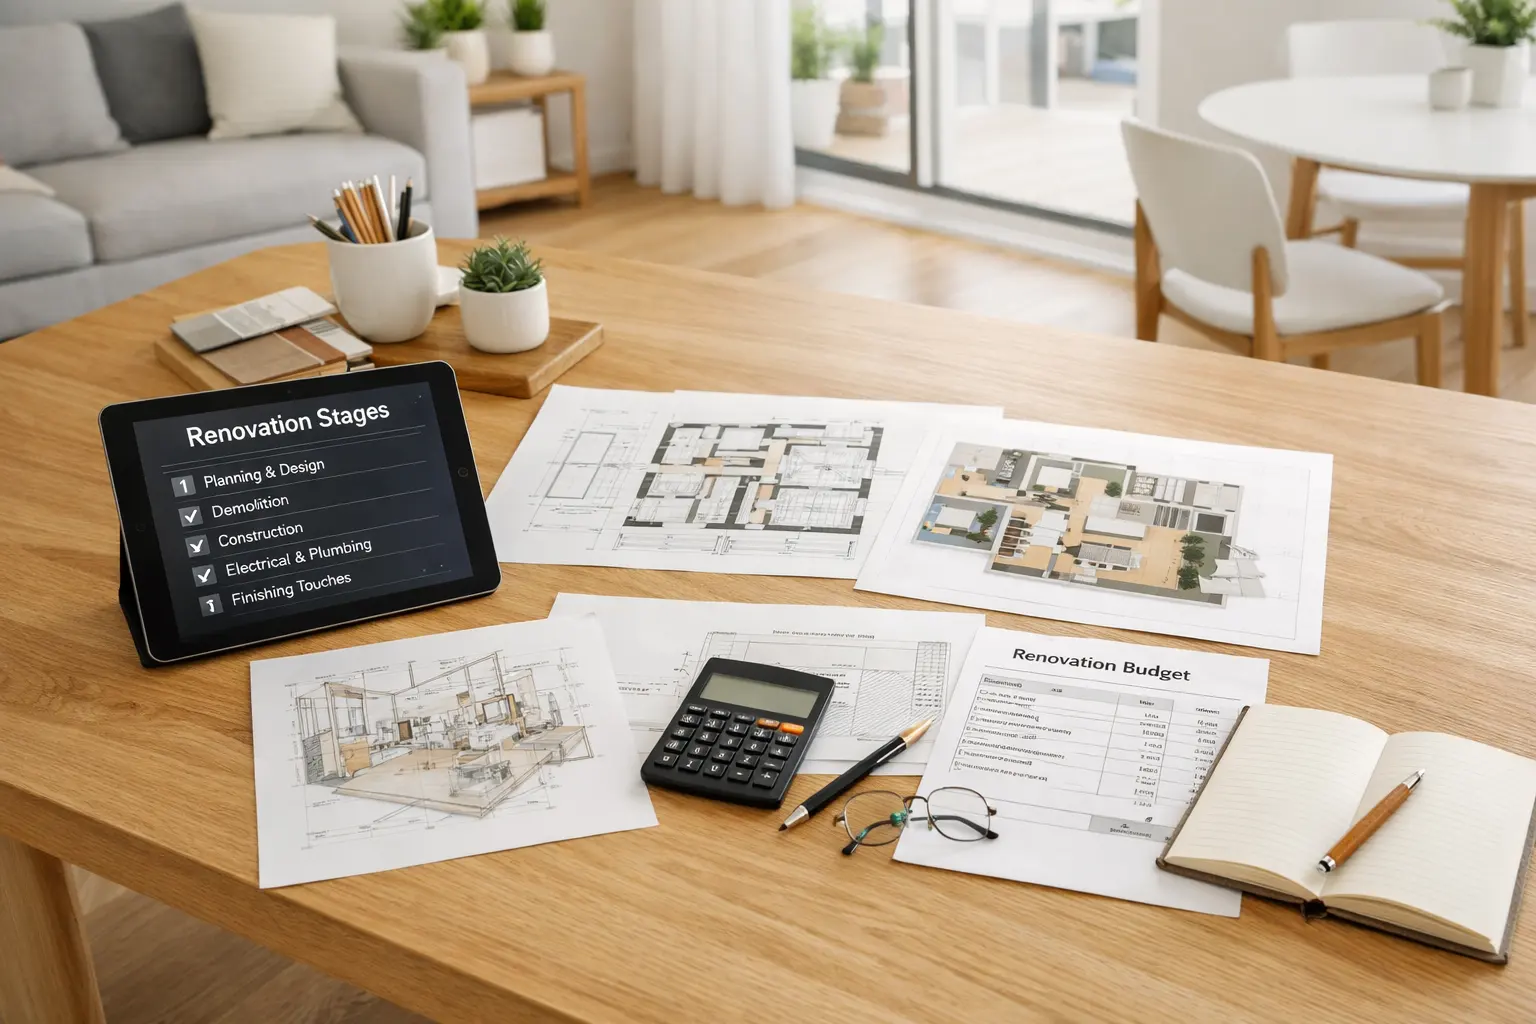
The logical order of renovation stages helps prevent rework, delays, and wasted materials.
Step 9: Structural and Layout Changes
If walls, openings, stairs, or load-bearing elements are changing, this work belongs early in the sequence. Structural changes can affect every later stage of the project, so they should be resolved before finishes, built-ins, and final surfaces are installed.
Because structural work may involve engineering review or inspections depending on the property and location, this is not the place to improvise. Any uncertainty here can multiply costs later.
Step 10: Electrical, Plumbing, Heating, and HVAC
Rough electrical, plumbing, heating, and HVAC work comes before walls are closed. This is the stage for outlets, lighting circuits, water lines, drains, heating lines, ventilation, and any other behind-the-wall work. Once those systems are closed in, changes become far more expensive.
Use qualified professionals for electrical, gas, structural, complex plumbing, and other regulated work. A small mistake in this stage can damage finishes, delay the project, or create safety risks long after the renovation is done.
Step 11: Walls, Ceilings, Screed, and Surface Preparation
After rough-in work is complete and tested, the next stage is preparing the base layers. That can include screed, plastering, drywall, leveling, patching, and ceiling repairs. Drying and curing time matter here, because finish work should not start until the substrate is stable.
Good surface preparation is easy to overlook and expensive to fix later. If the base is uneven or damp, the final finish will usually show it.
Step 12: Waterproofing and Wet-Area Work
Bathrooms, utility spaces, laundry zones, and other wet areas need special attention before tiles or fixtures go in. Waterproofing and moisture checks should happen at the right point in the sequence, not after the visible finishes are installed.
This is a good example of why renovation order matters. You do not want to discover a moisture problem after the floor is finished and the cabinets are in place.
Step 13: Tiling, Flooring, and Wall Finishes
Once the base is ready, you can move into tiling, flooring, wall finishes, and other visible surfaces. This is usually one of the most expensive and time-sensitive parts of the project because it depends on earlier work being complete, dry, and accurate.
Keep dusty or wet work ahead of delicate finishes whenever possible. A rushed floor installation or a tiled wall installed before a room is ready for it often leads to avoidable damage.
Step 14: Doors, Fixtures, Lighting, and Built-In Elements
After the main surfaces are in place, install doors, fixtures, lighting, switches, sockets, radiators, and built-in furniture. These details finish the functional side of the renovation and start turning the project into a livable home again.
If custom cabinetry or fixed furniture is part of the project, make sure the final dimensions were confirmed after rough work and final wall measurements, not before.
Step 15: Painting and Final Finishing Work
Paint, trim, accessories, touch-ups, and final detailing should come late in the sequence, after the dusty work is done. That order protects the finish and reduces the chance that fresh surfaces will need to be repaired again.
Small finishes can look simple, but they are the stage where the entire renovation starts to feel complete. It is also where poor sequencing becomes very visible.
Step 16: Testing, Inspection, and Snagging
Before final sign-off, test electrical points, plumbing and drainage, heating and ventilation, and check the installation quality of tiles, flooring, doors, cabinetry, and painted surfaces. Record defects clearly, set deadlines for corrections, and keep the documentation and warranties together.
Snagging is not a formality. It is the point where you make sure the work you paid for matches the scope you agreed to.
Step 17: Final Cleaning and Handover
The final step is cleaning, removing leftover materials, closing out documentation, and handing the property back in a usable condition. If temporary accommodation was part of the plan, this is the stage where moving back in becomes realistic.
At this point, the job is not just finished visually. It is finished operationally.
Home Renovation Timeline: How the Stages Fit Together
| Phase | Main work | Dependencies | Typical disruption | Key risk |
|---|---|---|---|---|
| Assessment and scope | Inspect the property, define goals, and separate must-have work from optional work. | None, but it shapes every later decision. | Low | Starting construction with an incomplete plan. |
| Design and budget | Finalize layout, budget, responsibilities, and timeline. | Assessment findings | Low | Late design changes that trigger rework. |
| Demolition and rough-in | Remove old finishes and complete structural, electrical, plumbing, heating, and HVAC rough work. | Approved scope and ordered long-lead items | Major | Hidden damage or unplanned utility changes. |
| Wet work and curing | Level surfaces, repair walls, complete waterproofing, and allow materials to dry. | Rough-in completion | Moderate | Rushing ahead before the substrate is ready. |
| Finishes and installations | Install tiles, flooring, doors, fixtures, lighting, cabinetry, and paint. | Dry, tested, and level base layers | Moderate to major | Delicate finishes damaged by unfinished work. |
| Testing and handover | Inspect systems, fix defects, clean up, and close the project. | All major trades completed | Low | Skipping snagging and leaving defects unresolved. |
This home renovation timeline is meant to show the order of work, not a universal duration. Every property is different, and the real schedule depends on scope, trade availability, material lead times, and how many hidden issues appear once demolition starts.
Common House Renovation Mistakes
- Starting demolition before the design is finalized.
- Underestimating technical work behind the walls.
- Buying finishes before final dimensions are confirmed.
- Planning cosmetic work before fixing moisture or structural problems.
- Changing the layout once construction is already underway.
- Failing to coordinate trades and their sequence.
- Ignoring drying and curing times.
- Ordering long-lead items too late.
- Comparing quotes with different scopes.
- Skipping contingency and snagging.
Frequently Asked Questions
What are the main steps of renovating a house?
The main steps are assessing the property, defining scope, planning the layout, setting the budget, building the timeline, hiring contractors, ordering materials, demolition, rough-in work, wet work, finishes, inspection, snagging, and final handover.
What should be done first in a home renovation?
Start with a full property assessment and a clear scope. Before any construction begins, you need to know what is essential, what is optional, and what hidden issues may affect the work.
In what order should a house be renovated?
The usual order is assessment, design, budgeting, procurement, demolition, structural changes, rough-in utilities, surface preparation, waterproofing, finishes, testing, and handover.
How do you plan a whole-house renovation?
Plan it as a sequence of stages, not as a single giant project. Break the work into rooms, trades, dependencies, and milestones, then connect them into one realistic schedule and budget.
How long does a home renovation take?
There is no single duration that fits every house. Timeline depends on project scope, material lead times, contractor availability, drying periods, inspections, and whether hidden damage appears during demolition.
Which renovation work should be completed before painting?
All dusty, wet, and technical work should be done before painting. That usually means demolition, rough-in work, wall repairs, leveling, waterproofing, tile work, and major installations.
How much contingency should I include?
A common planning range is 10% to 20% of the project budget, depending on the property condition, project complexity, and how much hidden work you expect.
How do I inspect renovation work before final payment?
Test the systems, check surfaces and finishes, list defects in writing, set the correction deadline, and keep documentation, warranties, and change orders together before paying the final balance.
How Re:Build Helps You Keep the Sequence Clear
Re:Build helps homeowners organize renovation stages, compare responsibilities, estimate costs, separate contractor work from lower-risk tasks, and track materials and progress in one place. That makes it easier to see the correct order of work before the project starts and to keep everyone aligned once it is underway.
When a renovation has many moving parts, the difference between a smooth project and a stressful one is usually planning. Re:Build gives you a practical way to manage that planning without losing sight of the sequence.