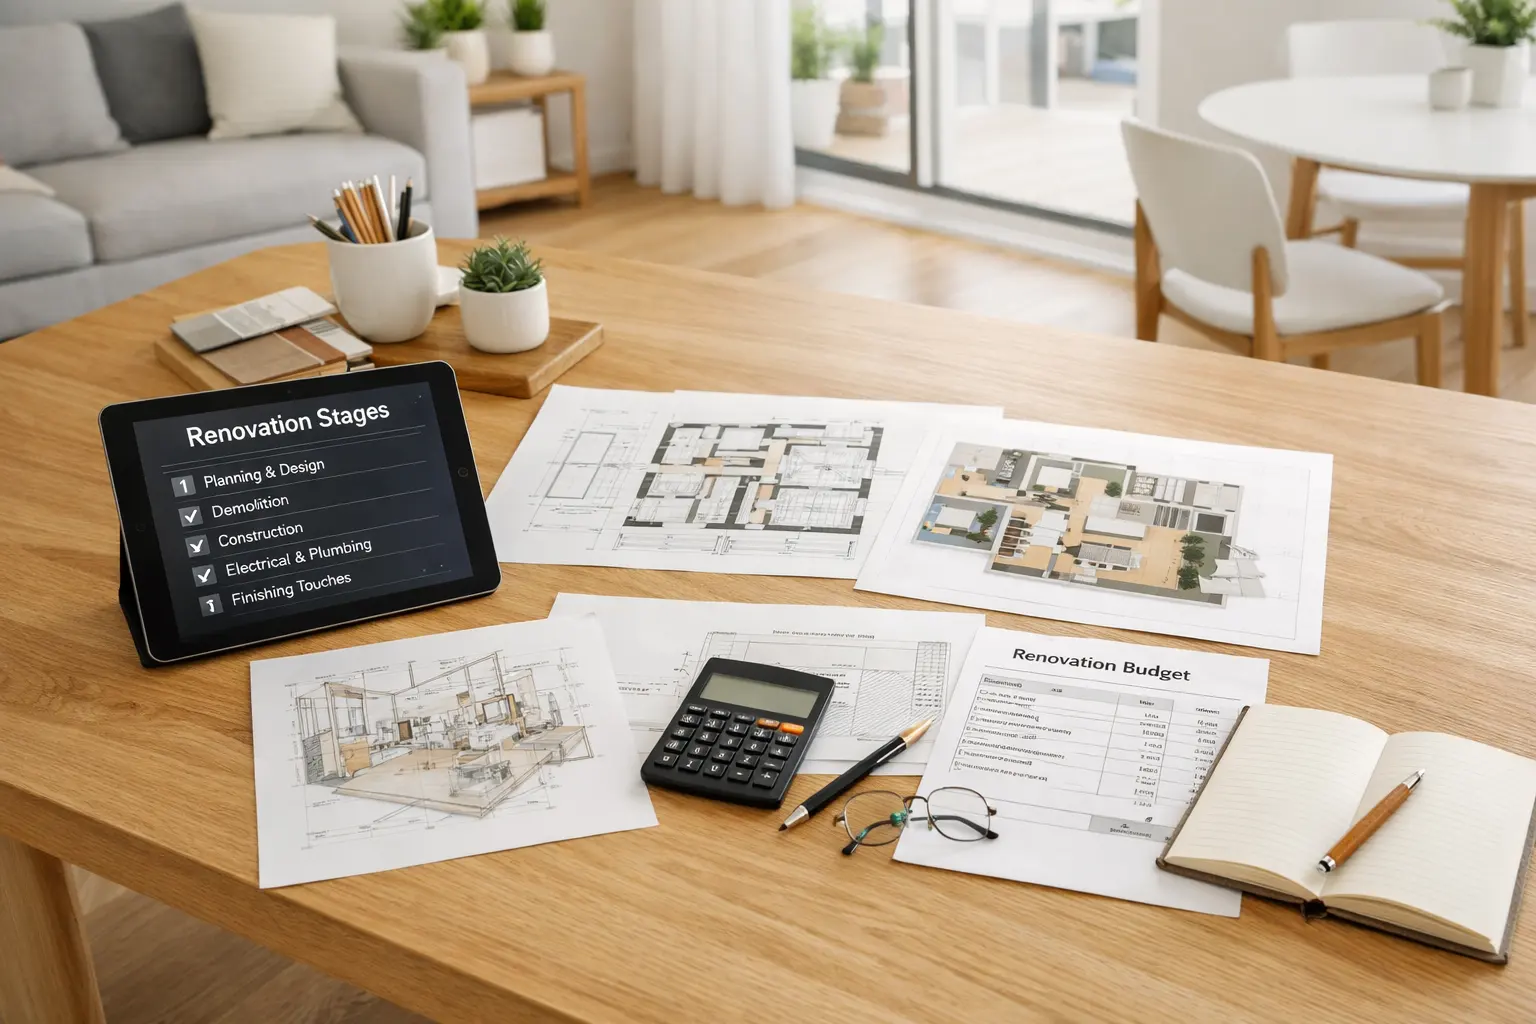
If you are planning a bathroom remodel, the order of work matters as much as the finishes. The right bathroom remodel steps cover planning, budgeting, layout, demolition, plumbing, electrical work, waterproofing, tile, fixtures, and final installation.
This guide walks through the stages of bathroom renovation in a practical sequence so you can control cost, avoid rework, and keep the project moving. It also calls out the common mistakes that cause delays, especially when plumbing moves, waterproofing is rushed, or material choices are made too late. For a broader view of the process, start with our renovation budgeting and planning guide.
Bathroom Remodel Steps at a Glance
- Define the renovation goals
- Set the bathroom remodel budget
- Measure the room and plan the layout
- Select fixtures and finishing materials
- Prepare permits and hire contractors if required
- Remove old fixtures and finishes
- Complete rough plumbing and electrical work
- Repair and prepare walls and floors
- Waterproof wet areas
- Install tiles and other finishes
- Install sanitary fixtures, lighting, and furniture
- Inspect, test, and complete the final details
Step 1: Define Your Bathroom Renovation Goals
Start with function, not finishes. Decide whether the project is a cosmetic update, a full bathroom renovation, or a layout change. Write down what must stay, what must go, and what the room needs to do every day.
If you are still deciding between a bathroom refresh and a larger remodel, this is the point to set priorities and avoid scope creep.
Step 2: Set a Realistic Bathroom Remodel Budget
Bathroom remodel costs depend on room size, layout changes, plumbing relocation, electrical work, waterproofing, tiles, finishing materials, fixtures, contractor rates, and location. Even a small bathroom can become expensive once the work involves multiple trades.
For a quick planning range, use the bathroom remodel cost calculator. If you are comparing the bathroom against other projects, the renovation cost calculator helps you see the broader budget picture. For a manual first pass, the cost estimation guide shows how to build numbers without a contractor.
What drives the price up
- Moving the toilet, tub, or shower drain.
- Upgrading electrical circuits, lighting, or ventilation.
- Large-format tile or full-height wall tile.
- Premium fixtures and custom cabinetry.
- Hidden water damage or outdated plumbing discovered after demolition.
Contingency is key: Always leave room in the budget for surprises behind the walls. A 15-20% buffer is common on bathroom renovation steps that involve older homes or unknown conditions.
Step 3: Measure the Bathroom and Plan the Layout
Measure the room carefully before you buy anything. Door swings, shower clearances, fixture spacing, and wall thickness can make or break the layout.
Functionality in a bathroom is dictated by inches. A beautiful vanity is useless if the drawers hit the door frame, and a toilet squeezed into a tight corner makes the room feel cramped.
If you are still comparing the visual direction, AI room design from a photo can help you test tile palettes, timber accents, and interior styles in the existing bathroom. Treat the image as inspiration; fixture clearances, plumbing, and waterproofing still need an accurate plan.
When moving plumbing makes sense
Keeping fixtures in the same location usually saves money. Moving plumbing fixtures is the fastest way to inflate labor and material costs because it can require cutting into the subfloor, rerouting waste lines, and adjusting venting. Unless the existing layout is functionally poor, reuse the current plumbing locations where possible.
Clearance and flow
Plan enough room in front of the toilet and vanity, and make sure the door does not hit the shower, sink, or toilet. In small rooms, a pocket door or a different shower door style can free up space without changing the footprint.
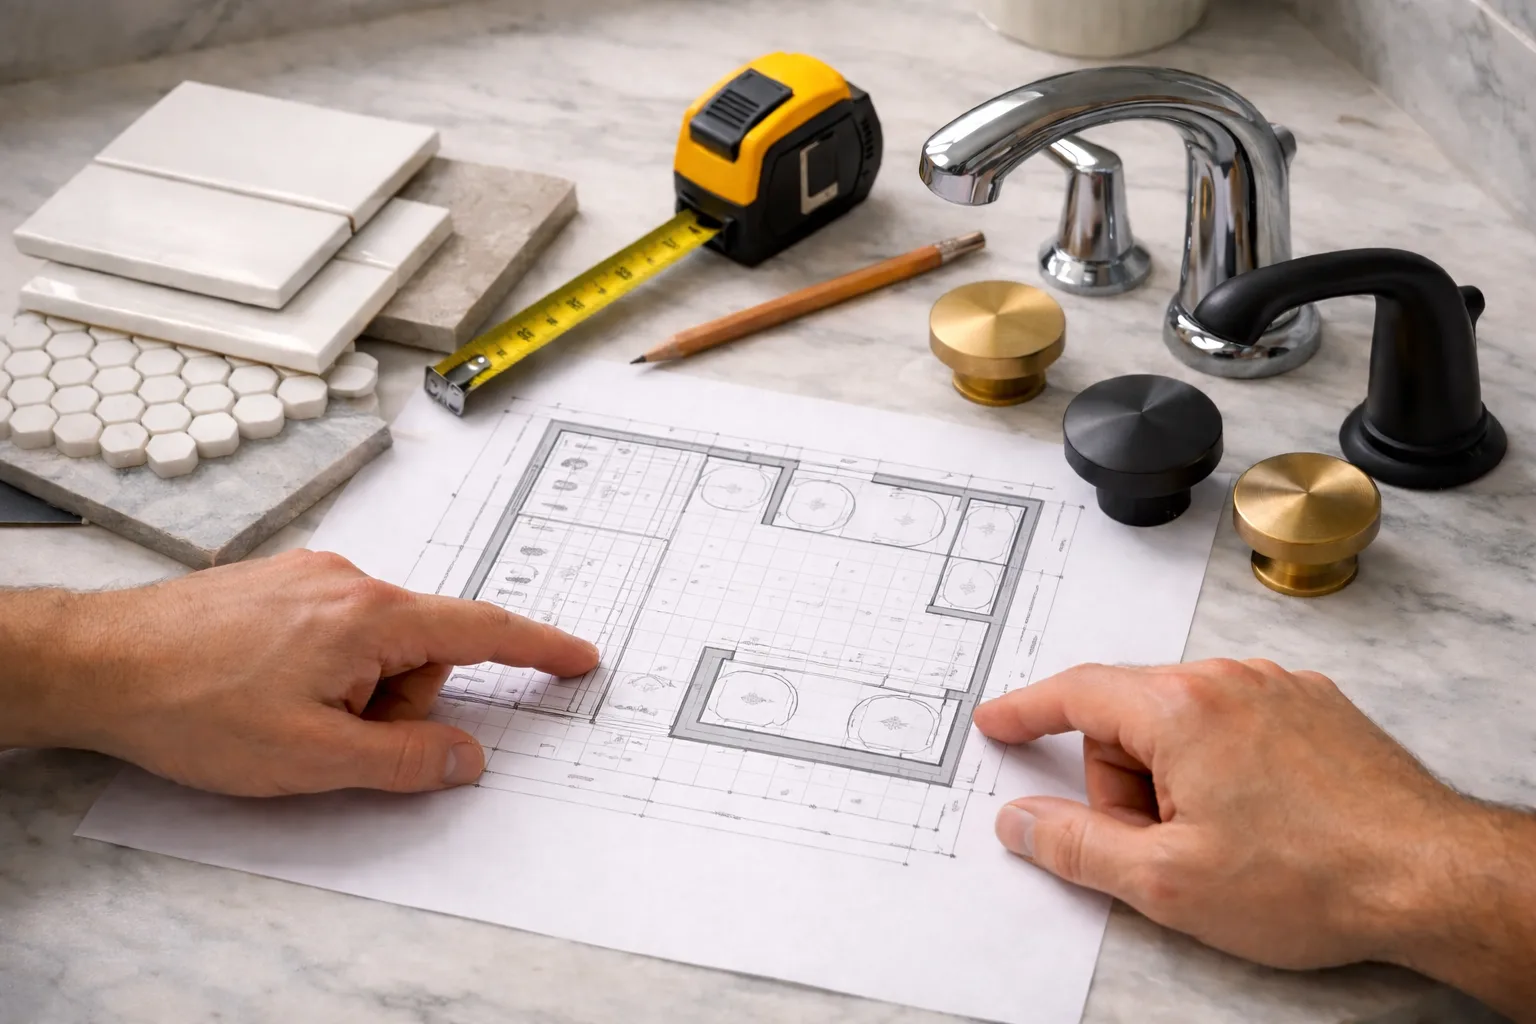
Careful planning of layout and waterproofing systems helps prevent costly future repairs.
Step 4: Choose Fixtures and Finishing Materials
Bathrooms endure high humidity, temperature swings, and harsh cleaning chemicals. Choose materials that can handle daily use instead of chasing the lowest upfront price.
- Porcelain vs. ceramic: Porcelain is usually the better floor choice because it is denser and less porous.
- Vanity materials: Moisture-resistant engineered wood or quality plywood tends to perform better than cheap particle board.
- Lighting layers: Use task lighting at the vanity, ambient lighting in the room, and moisture-rated fixtures in wet zones.
- Hardware and finishes: Choose surfaces that are easy to clean and durable enough for frequent contact with water.
Step 5: Plan Contractors, Permits, and the Work Schedule
Confirm who is doing what before demolition starts. Some bathroom renovation steps are fine for a skilled homeowner, but rough plumbing and electrical work should be handled by licensed professionals when code requires it.
Check permit rules early if you are changing plumbing, electrical circuits, ventilation, or any structural element. A clear schedule prevents the project from stalling between trades.
Keep the project organized with the renovation planning checklist.
Step 6: Demolish the Existing Bathroom
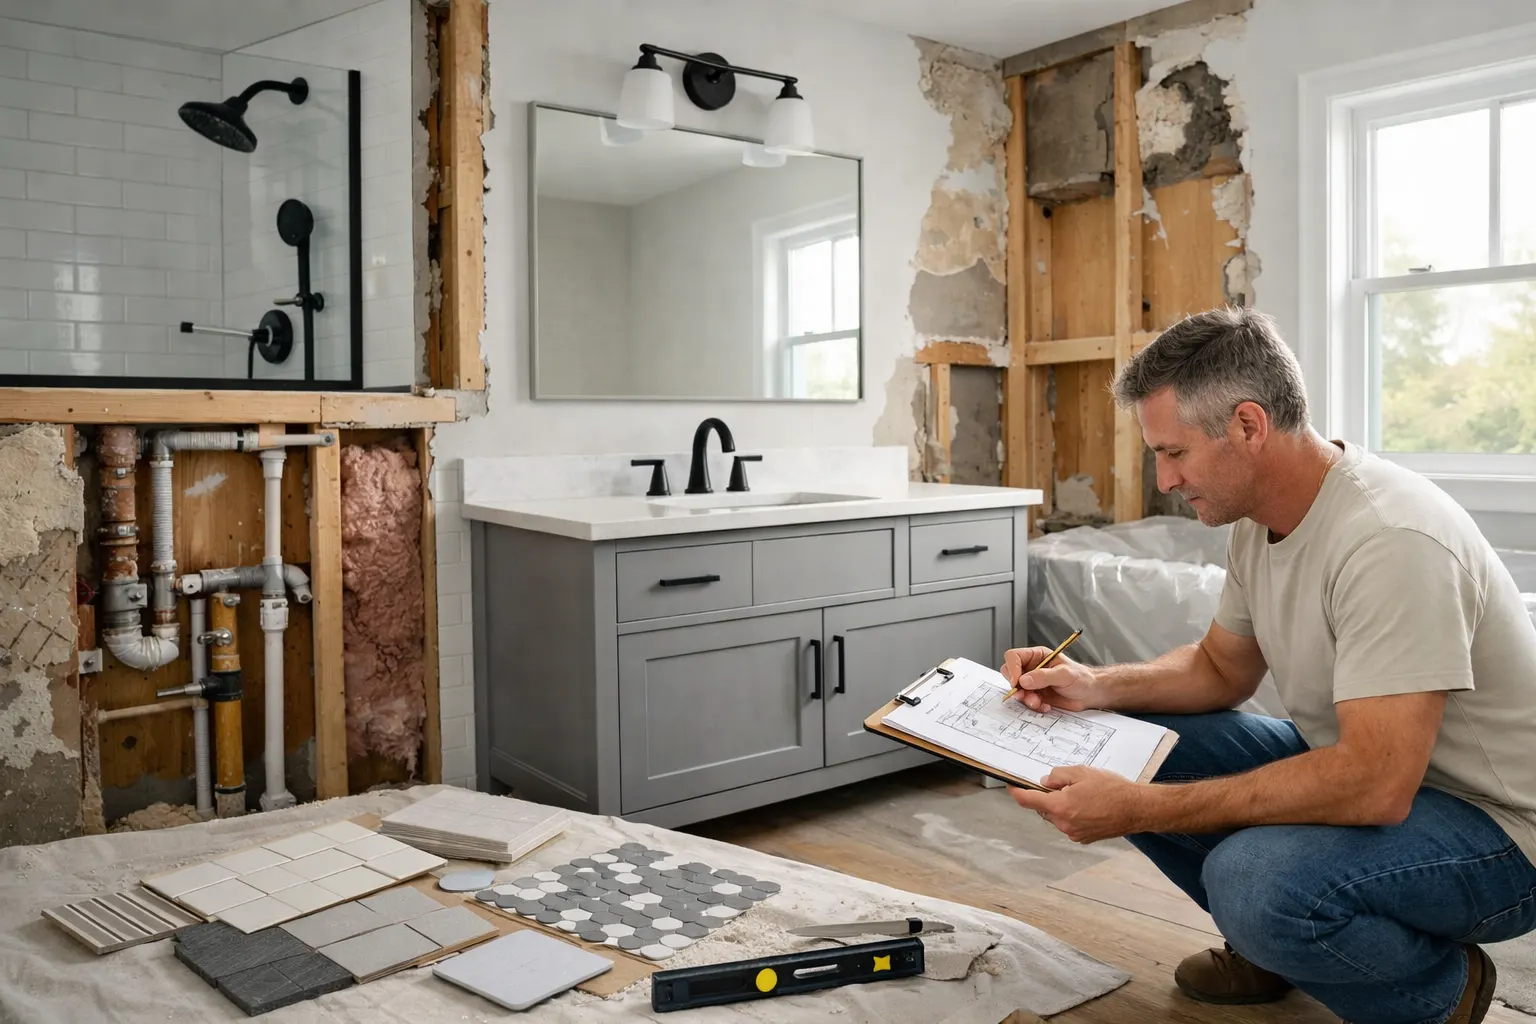
Remove old fixtures, finishes, drywall, flooring, and trim only after utilities are off and the scope is locked. Demolition is when hidden problems usually show up, including water damage, uneven framing, and old plumbing that needs replacement.
This is also the stage where you can confirm whether the original layout is still worth keeping or whether a change makes sense before the walls are closed again.
Step 7: Complete Plumbing and Electrical Work
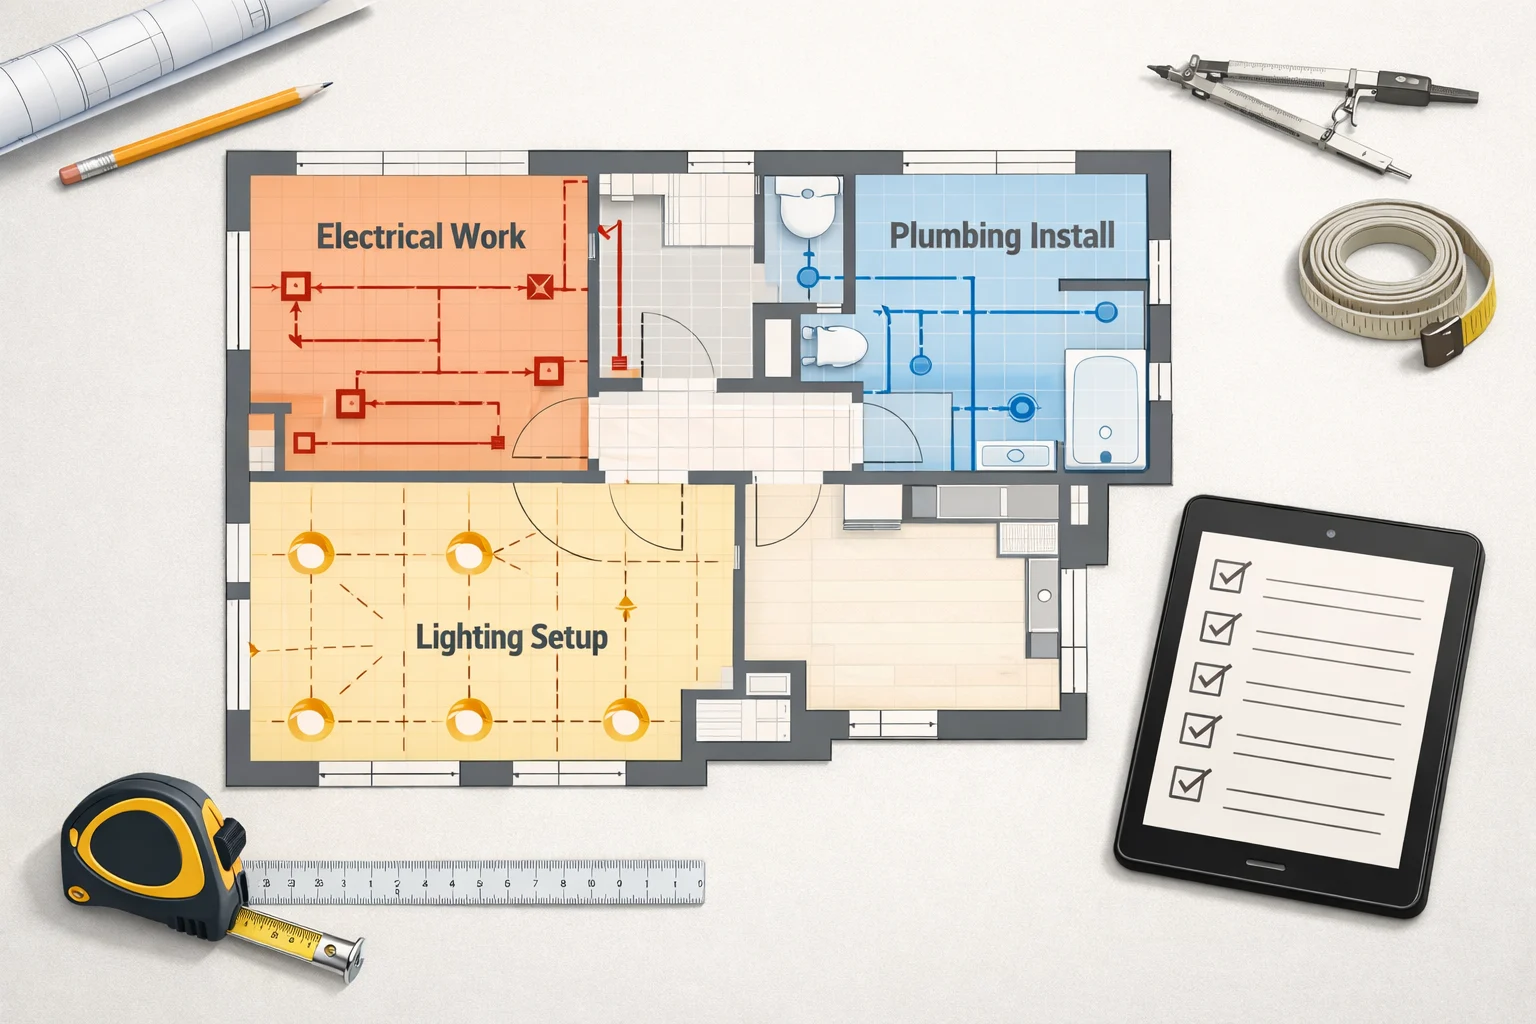
Rough plumbing and electrical work should happen before walls are closed. This is the time to reroute supply lines, drains, outlets, switches, fan wiring, and lighting.
Hire a pro for: rough plumbing, electrical work, and shower pan work. These are not the best places to cut corners in a bathroom remodel guide.
Step 8: Prepare Walls and Floors
Repair framing, replace damaged subfloor sections, and level the surfaces before waterproofing begins. If the base is uneven, the tile and fixtures will telegraph the problem later.
This is the cleanup stage that makes every later step easier. Good surface prep reduces the risk of cracked tile, loose grout, and uneven fixture installation.
Step 9: Waterproof the Bathroom
Waterproofing is the part of a bathroom remodel you should never rush. Tile and grout are not waterproof on their own, so wet areas need a continuous membrane or a system designed for bathrooms.
Common waterproofing mistakes
- Relying on grout alone as the moisture barrier.
- Skipping corners, seams, or shower niches.
- Using an undersized fan or venting it to the wrong place.
- Assuming cement board solves the problem by itself.
Ask your contractor exactly which system they use and how it is tested before tile goes up. The waterproofing is invisible after installation, but it protects the structure for years.
Step 10: Install Tiles and Finishes
Tile work comes after the waterproofing layer is complete and inspected. Then install paint, trim, mirrors, and other finishes that do not belong under the wet-area membrane.
Keep the finish choices practical. Materials should look good, but they also need to hold up to steam, cleaning, and repeated daily use.
Step 11: Install Fixtures, Lighting, and Furniture
Set the toilet, vanity, sink, shower trim, accessories, lighting, and built-ins after finishes are in place. This is also the time to verify that doors open cleanly and drawers clear adjacent fixtures.
Some tasks, such as vanity installation, faucet mounting, and painting, may be suitable for an experienced DIYer. Leave anything code-sensitive to the right trade.
Step 12: Inspect and Finish the Remodel
Test for leaks, check ventilation, confirm electrical operation, and inspect grout, caulk, and sealant lines. The final walkthrough should catch small issues before they become expensive callbacks.
Common renovation mistakes
- Changing the layout after materials are already ordered.
- Skipping contingency in the budget.
- Buying fixtures before measuring clearances.
- Underestimating plumbing relocation costs.
- Rushing waterproofing to get to tile faster.
What Is the Correct Order for a Bathroom Remodel?
The correct order is simple: plan first, then demo, then rough plumbing and electrical work, then wall and floor preparation, then waterproofing, then tile and finishes, and finally fixtures and final inspection. That sequence keeps work from being torn out and redone.
If waterproofing is installed too late, it cannot protect the substrate. If fixtures go in before finishes are complete, they are easy to damage. The bathroom remodel steps are mostly about preventing rework.
Bathroom Renovation Checklist
Use this checklist for bathroom renovation planning before, during, and after the job:
- Define the scope and final layout.
- Set the budget and contingency.
- Confirm measurements, fixture sizes, and door swings.
- Order tiles, fixtures, and materials with lead times in mind.
- Confirm permits, trades, and the work schedule.
- Document plumbing, electrical, and ventilation changes.
- Verify waterproofing before tile installation.
- Inspect the finished room for leaks, alignment, and caulk lines.
FAQ
What are the main steps in a bathroom remodel?
The main steps in a bathroom remodel are planning, budgeting, layout, demolition, plumbing, electrical work, waterproofing, finishes, fixture installation, and final inspection.
In what order should you renovate a bathroom?
Plan the layout first, then handle demolition, rough trades, wall and floor prep, waterproofing, tile, fixtures, and final details.
How long does a bathroom remodel take?
Most bathroom renovation projects take several weeks, but the timeline depends on scope, permit needs, material lead times, and how much the plumbing changes.
What should be done first in a bathroom renovation?
The first step is defining the goals and budget. Once those are clear, you can plan the layout and decide whether any plumbing moves are worth the cost.
Can you renovate a bathroom without moving the plumbing?
Yes. Keeping the toilet, sink, and shower in the same locations is often the simplest way to control cost and reduce risk.
What is the most commonly overlooked bathroom renovation step?
Waterproofing is the step homeowners overlook most often. It is hidden after installation, but it protects the structure and prevents expensive future repairs.
Conclusion
Following the bathroom remodel steps in the right order helps you control budget, reduce delays, and avoid the mistakes that cause the most expensive repairs. Planning carefully, choosing materials with the room’s conditions in mind, and handling waterproofing correctly all pay off once the project is finished.
If you are ready to map out a remodel, Re:Build can help you plan the work, estimate costs, and keep the renovation on track before demolition starts.